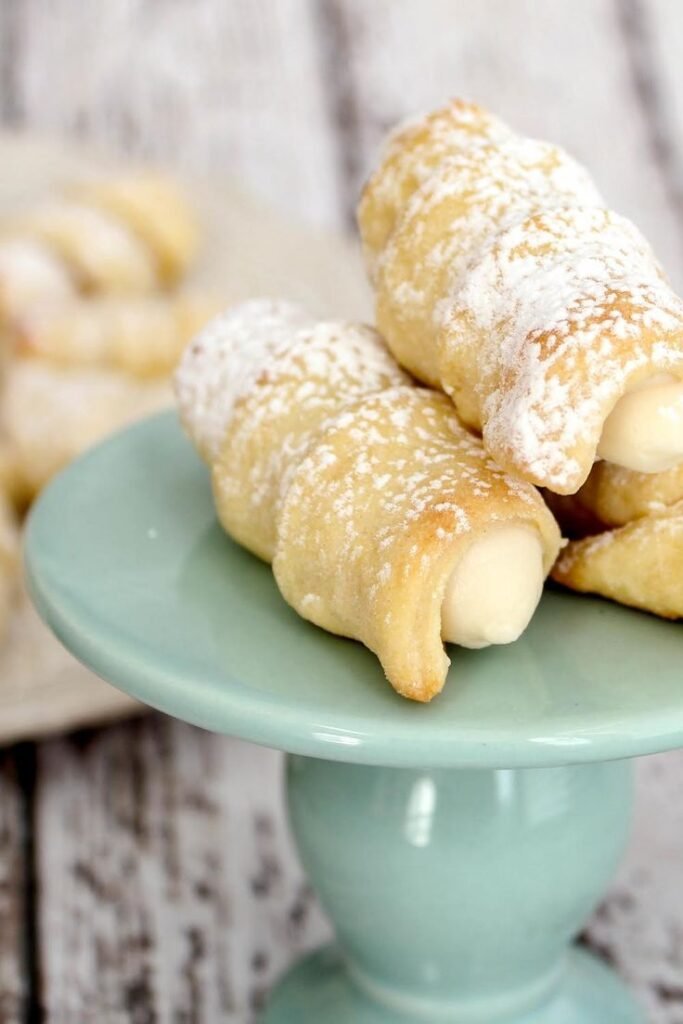
Lady Locks is the showpiece of a Pittsburgh cookie table at weddings. This is a flaky cookie with a sweet, creamy filling that you will love at first bite. In Pittsburgh, we call them Lady Locks, and the rest of the world calls them Cream Horns, but they don’t know what a Wedding Cookie Table is either.
A Sweet Tradition
Lady Locks originated in Hungary and Germany. They are more than just cookies—a cherished tradition passed down through generations. Their timeless elegance and irresistible flavor make them the perfect addition to your baking repertoire. These cookies will impress, whether for a special occasion or a cozy family gathering.
How to Make Perfect Lady Locks (Clothespin Cookies)
Lady Locks are the stars of any cookie table, delicate, flaky, and filled with sweet, creamy filling. These classic treats, also known as Clothespin Cookies, are as elegant as they are delicious. With their light pastry shell and luscious filling, they’re a favorite for weddings, holidays, and celebrations.
What Are Lady Locks?
Lady Locks are a traditional pastry cookie made from strips of buttery dough wrapped around metal rods or wooden clothespins, baked until golden, and then filled with a sweet cream or custard. They’re light, airy, and perfectly indulgent—true showstoppers for any dessert spread.
Why You’ll Love Lady Locks
Lady Locks are not just cookies; they’re an experience. Their flaky pastry, combined with a creamy filling, offers a texture and flavor that’s hard to resist. They’re perfect for weddings, holidays, or any occasion that calls for an elegant dessert.
Lady Locks – The Quick and Easy Version
Lady Locks, also known as Clothespin Cookies or cream horns, is a timeless treat featuring delicate pastry shells filled with luscious cream. These cookies are a true showstopper on any dessert table, perfect for weddings, holidays, or any special occasion.
Ingredients
For Cream Filling
Instructions
-
To make the shells (horns)
Remove the puff pastry from the freezer and let it defrost for at least 30 minutes.
-
Preheat oven to 400 degrees. Line 2 baking sheets with parchment paper
-
Open the puff pastry package, working with one sheet at a time. Keep the other sheet wrapped and in the refrigerator. Unfold one dough sheet and roll it out slightly, just enough to remove the creases and make it a little thinner. I cut the dough in half to make smaller shells, but you can leave them long. Cut into about 3/4" wide strips. I use a pizza cutter to make the strips.
-
What to use to make the shell
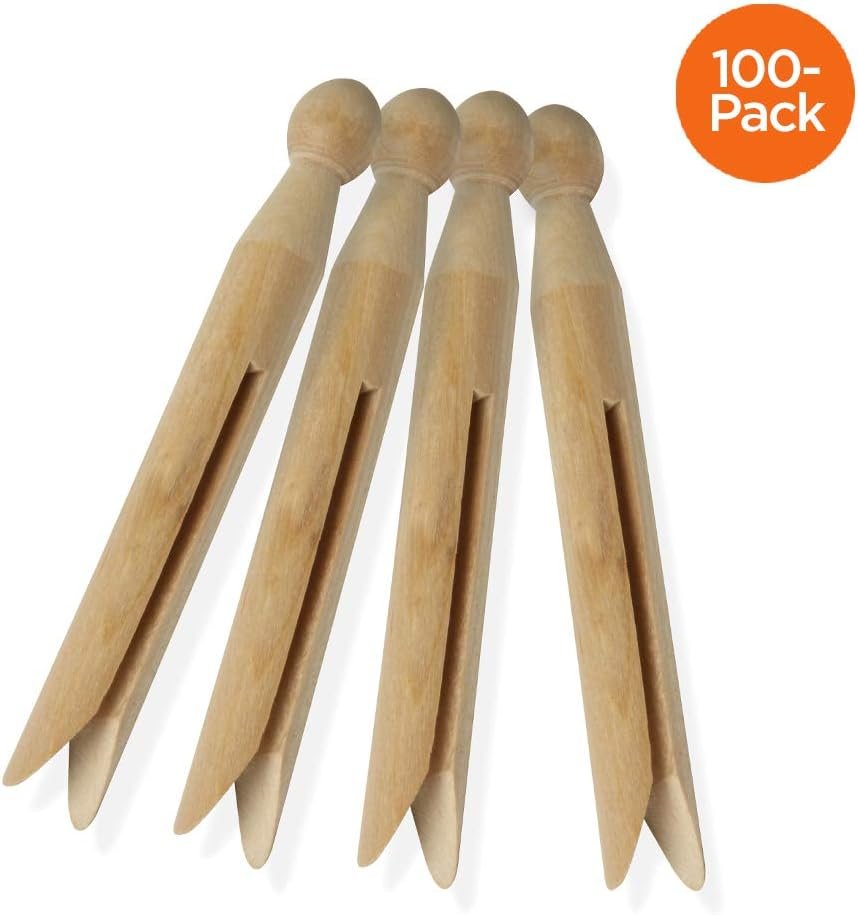
Many years ago, they made the shells using clothespins wrapped in foil and greased with Crisco, which is how I still make them today.
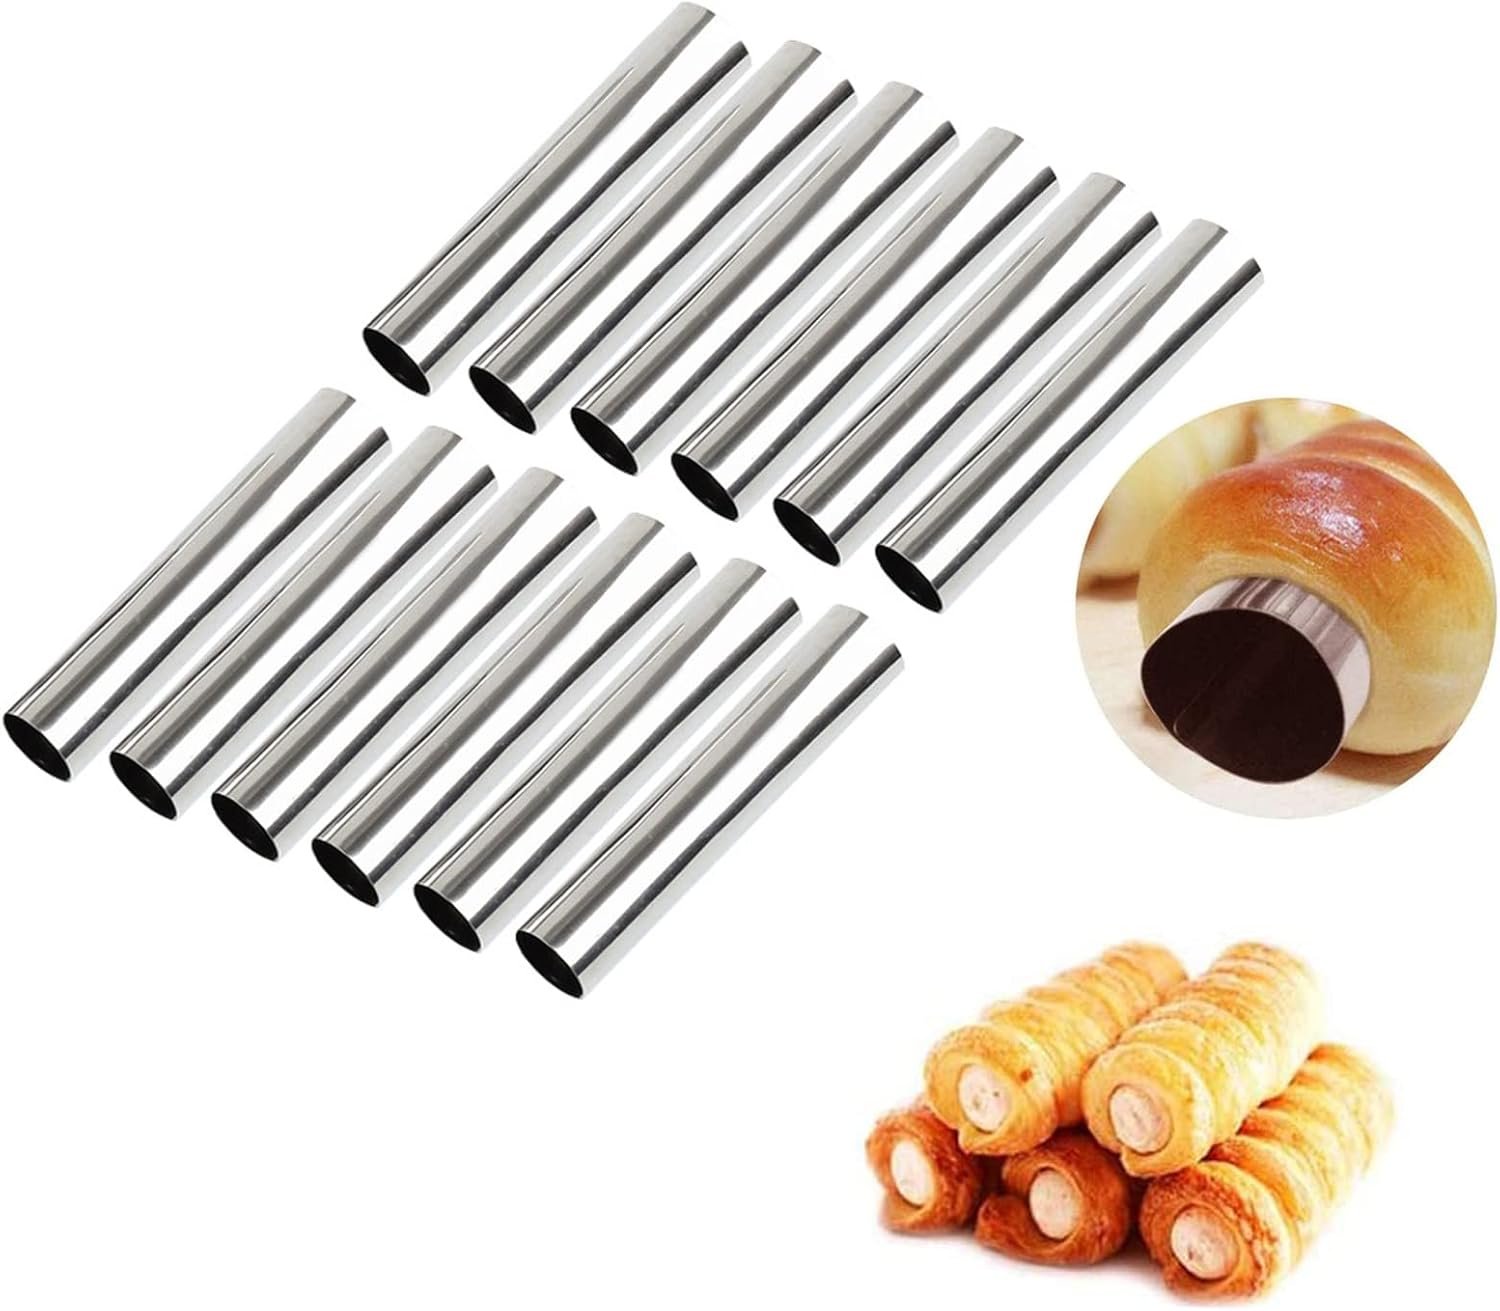
They do sell stained steel Cannoli molds ( see the equipment section). You can still light grease them. It's your choice.
-
Take the strips of dough and slowly wrap them around the clothespin, ensuring they slightly overlap the previous layer. When you reach the end, you will take a dab of water, wet the end to make it sticky so it will stick to the other layer of dough, and place the end on the bottom side, touching the baking sheet.
-
Place on the baking sheets, leaving room between each; they will expand. Bake for 12- 15 minutes or until light brown, keeping a close eye on them. Let them cool for 3 or 4 minutes before removing them from the clothespins. To give them a slight twist, too.
-
Cream Filling
Beat the Crisco first, then all the butter, and beat until creamy.
-
Slowly add powdered sugar and the evaporated milk - blend well
-
Mix in Vanilla and Almond Extract. Add the marshmallow fluff and blend until fluffy.
-
Fill your pastry bag using a medium tip. Start to fill your shells. You can add filling from both sides so you don't have space in the middle. You can sprinkle your filled shells with powdered sugar or roll them in the sugar you choose.
You can freeze them with or with out the filling,


